Mosaics: Do It Yourself!
Mosaics are beautiful and very interesting to make as well. Anyone can do them at home and it could be a very nice activity to do with the children as well as mosaic will help in developing creativity. There are also many ways and several techniques that can be used.
We will show two different ways in two easy different projects.
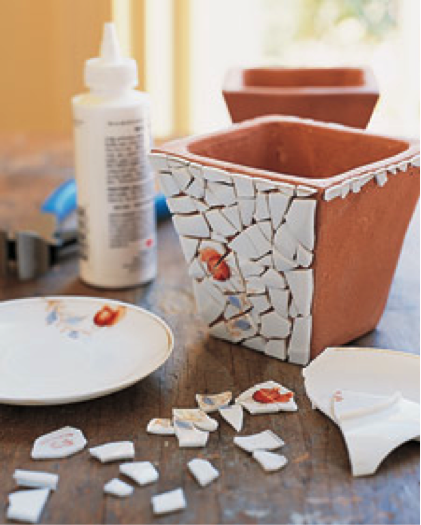
Project 1: Flower Pot decoration For this project, you will need the following materials:
- Tile nippers
- Plate fragments
- Terra cotta pots
- Glue
- Grout
- Wooden stick
- Gloves
- Sponge
- Foam brush or spray
- Grout sealant
To start with, you will need to break the plates into smaller pieces using the tile nippers, carefully. You can use a protective mask to keep your eyes safe. Then, decide on the design you want to go with and start gluing the fragments on the pot leaving tiny spaces between them and let them dry overnight. On the next day, wear the gloves to mix the grout following the package instructions and use the wooden stick to spread it evenly over the mosaic. You can press the grout into the crevices using your fingertips. Then, with a moist sponge, wipe off any excess grout. But be careful not to wipe the grout in the crevices and let it dry overnight. Finally, take the pot outside and apply the grout sealant with a foam brush or spray to protect it from water, dirt etc., wipe off the excess with a damp sponge and again, let it dry overnight. It’s that easy!
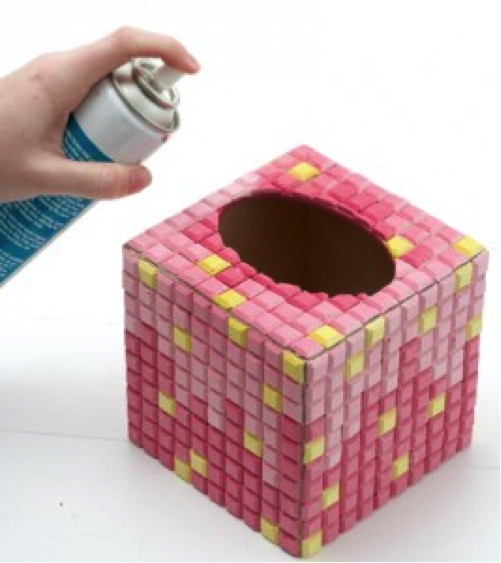
Project 2: Wooden Tissue Box decoration For this project, you will need the following materials:
- Wooden box
- Rubber car mat
- Wood glue
- Plaster of Paris
- Acrylic paint in the color(s) of your choice.
- Measuring jug
- Cups, spoons and a knife
- Rubber spatula
- Craft knife
- Tile adhesive
- Paint brush
- Lacquer
To start with, you need to measure the quantities correctly: Mix 15ml wood glue with 55ml water until it becomes silky. Then, mix in 15ml acrylic paint, until the color is even. After that, pepper 80ml plaster over the mixture and wait until it sinks to the bottom before stirring, to prevent the mixture forming clumps. The mixture needs to have the consistency of yoghurt. When that is done, empty the mix onto the rubber mat and use the to ensure all the holes are uniformly full and let everything dry for 2 to 3 days. If you see air bubbles, give the mat a few gentle taps. Now, you can turn the mat to take off the tiles. You will need to neaten the edges with the craft knife blade. Then you can decide on the pattern you want to arrange the tiles in and apply tile adhesive to the section you will begin with. When you reach the opening, use the craft knife in order to cut the edge and let the box dry for 24 hours. Finally, if any wooden areas are still showing, you can paint over with the acrylic paint and when the box is all dry spray on the lacquer in order give it a protective coating and the colors a brighter look. It’s that easy!
If you get to make any of these projects, take a photo and send it over. We’d love to see it!


