How to Make a Mosaic
A lot of people have no idea how Mosaic is made. To start with, one needs to choose a design and the material that will be used and make small pieces out of a bigger one. For example, you can buy industrial made tesserae (individual small tiles formed in the shape of a small cube) or you can go the artisans’ way. For example, you can take a ceramic plate, cover it with a cloth and hit it with a hammer. It goes without saying that you need to be protected at all times with a dust mask and safety goggles.
Also, you need to decide on how big your piece and the pieces will be. After that you need to choose your method accordingly. There are 3 of them:
1. Direct Method:
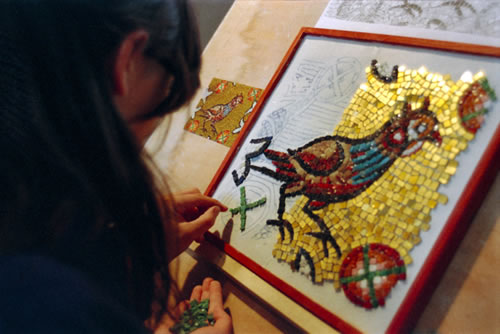
It involves gluing the individual pieces or tesserae directly on the supporting surface. This method is mainly suitable for 3 dimensional surfaces like vases and other small transportable projects. In this case, the mosaic is progressively visible which allows adjustments. The disadvantage however, is that the artist must work directly on the chosen surface which could turn out to be uneven thus unpractical for long times depending on the scale and location of the project.

2. Indirect Method:
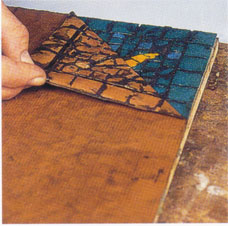
This method gives room for rework when need and is used for large projects with repetitive elements or for areas needing site specific shapes. Tiles are placed face down to a backing support using glue and later transferred onto site. The result is smoother and the surface more even than the direct method.

3. Double Indirect Method:
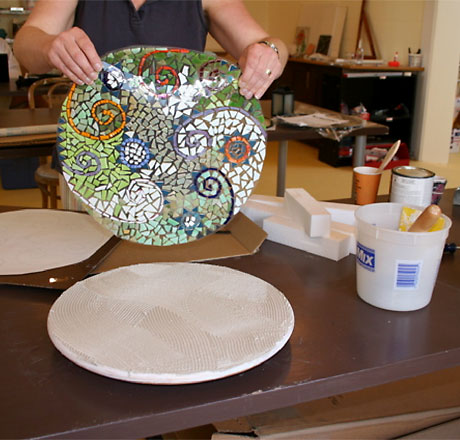
This method is used when it is important to see the work in progress as it will appear when completed. The tesserae are placed face-up on to an adhesive-backed support. When the mosaic is completed, the same supporting medium is placed on it. The artwork is then turned over and the first adhesive-backed support is carefully removed.

Three different methods for different purposes offer a lot of flexibility. Could this be the reason why mosaic is so popular?
